 CALL US NOW 1300 232 491
If you’re preparing to add a bathroom to your house, you’ll be well served by knowing how to do some standard rough-in plumbing.
Most bathroom plumbing includes drains, lines for fresh water, sinks, toilets, and other sewer elements, showers, and even tubs. These appliances usually receive both cold and hot water. The process of rough-in plumbing includes bringing the drain lines to what will be the future bathroom.

Hereon, individual connections will be made once the appliances are installed. If you wish to carry out your own rough-in plumbing instead of contacting professionals, then you need some skills and a set of specialized tools. Do remember that your rough-in plumbing also has to meet the building codes.
Without further ado, let us dive into the guide we’ve prepared to help in the rough-in plumbing process.
The first step is to map the entire thing out. If you have a planned diagram in place, the process becomes easier. You have to start with locating the nearest drain stack. Then, you must chart a path for the pipes to reach the bathroom. Finally, you can see where they will reside.
You must also factor in the locations for the sink, toilet, bathtub, or shower. Draw the room’s rough sketch on a paper before mapping out the pipe arrays and the sizes needed for every branch and their endings.
The next thing on the list is to install a T-Connector. This needs to be attached to the main sewer lines. Basically, it is a branch of the drain pipe that will allow the sink, toilet, or shower to get the wastewater out of the bathroom and into the main sewers.
We recommend using an extra large pipe cutter. Once you’ve opened the stack, you should put in the PVC T-Connector (three inches) into that space. This should be below the floor level of the bathroom to ensure that drains run downhill towards this. Upon using PVC cement, as per the instructions of the manufacturer, it can then hold this pipe in its place.
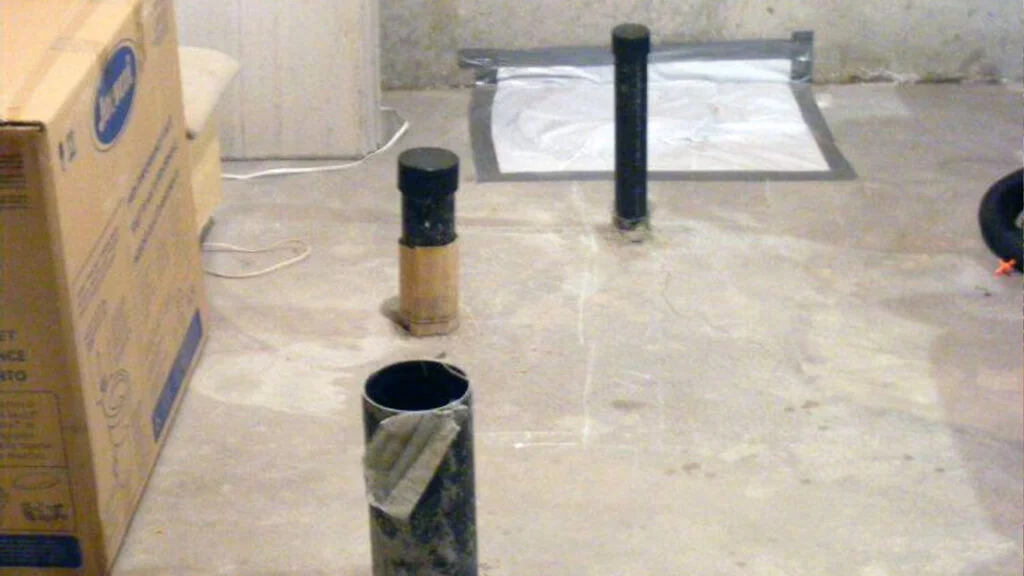
You have to run a 3-inch PVC pipe to the location of a toilet drain. Then, make use of a 90-degree angle, making an upward turn. This should take you to a level that is just below the floor of the bathroom.
After this, it is best if you connect the length of the pipe with both the cement for PVC pipes and female adapters. You can make use of another 90-degree turn to make the pipe horizontal. Following this, you should use the splitter, so your single pipe becomes two.
This step involves installing a 3-inch pipe into one of the open ends of the splitter. In the other open end, you should install a 3-inch or 2-inch adapter. Then, you have to run the 2-inch pipe to the location of the sink.
After this, it must be turned upwards using a 90-degree angle. Then, the last length of the 2-inch pipe has to be installed to the point that is about 18 inches above the floor of the bathroom. This will serve as the sink drain.
You have to split the remaining pipe length into two lengths of the 3-inch pipe. Then, use a 90-degree turn to get the pipe upwards to the location where you plan to install the toilet. At this point, you also have to install the toilet flange on the top of the surface of the floor. Now, your drain is ready, and you can install a toilet.
Finally, all that remains to be done is to run the final length of the 3-inch pipe to the location of the drain for the tub and shower. Then, using a 90-degree turn, you have to direct it upwards again. The 3-inch pipe can be used to bring it to the floor level to serve as the drain.
It’s quite easy to do the rough-in bathroom plumbing yourself if you follow these simple steps. True, a degree of handiwork is required, and you must know your way around some specialized tools.
As with all projects, it is best to start off with a plan and then work step by step until the installations are completed. Once the basic plumbing is done, you can go ahead with the installation of different appliances like toilets and bathtubs.
The rough-in plumbing essentially helps you figure out how the water will reach these installations and where the waste water will drain out from. While many might prefer handing off the task to professionals, we’ve seen that DIY ventures can be quite successful too.
That said, if you have any questions about rough-in bathroom plumbing, feel free to reach out to us.